It's been such a wild and crazy fall with shows, making jewelry, pickin' with the hubs, and visiting with family, that I had to stop and think about where I left off!
We were talking about the Alabaster paint I used for the cabinets and I promised the next post would be about my upper cabinets. Well, here goes...
As stated before (I think:-), when we moved in, we decided to just put lipstick on a pig for now, thus the basic improvements we are making in the the kitchen now. I want to live with it for awhile to decide exactly what I want to do with it. I already know I'm not one for granite counter tops and stuff like that; I'm a pretty simple person when it comes to fixtures (well, except for that Aga cooker I dream about having...but that's for when my ship comes in--Ha!).
The cabinets currently in place were built in the 80s (much to my dismay the originals are gone.) and have many eccentricities. Then when they leveled our house, the top ones shifted and now have gaps that weren't there before. I'm fairly certain they will eventually come out, but for now, we are using what we have.
Since we are working with what we've got, we (well, I:-) decided it was the perfect time to try something I've always wanted to try...open shelving. The fact that the hubs wasn't having a very easy time putting all the doors back on with the new hardware I chose, made it easier. In my defense, it looked just like the old stuff, it just didn't fit like it. Anyway, I spared him the frustration of putting the top doors only...he only had to fight with the bottom ones.
 |
| Cabinets with no doors... |
To help me dress up the top cabinets, I looked to Pinterest. I found a variety of ideas, but finally narrowed it down to this one. I didn't follow her instructions exactly, but I took her basic idea and implemented it. She used fabric and foam board; I used contact paper (yes, contact paper! But not the stuff from the 80s and 90s!!) and foam board.
So here is what I used...
 |
| Supplies... |
1. foam board
2. contact paper
3. scissors
4. utility knife (not pictured)
5. yard stick (not pictured)
6. patience (yeah. not pictured either)
Not gonna lie, I was a little short on #6, but I managed to persevere over the course of two days. I have trouble with the old "measure twice, cut once" practice...let's just leave it at that.
Moving on...
She covered foam board with fabric and it looked fabulous. I didn't have fabric nor the desire to traipse around looking for some, so I was ecstatic when I accidentally found some contact paper at the local Walmart.
It was the exact color I needed with a design I really like...problem solved. Plus, I figured it would be easier to work with than a hot glue gun and fabric (eh, maybe not). Anyhoo, I cut the foam board to the size I needed for the back of my top cabinets. I then cut the contact paper to fit with a slight edge to wrap around to the back. Lastly, I placed the covered foam board into the back of the cabinets.
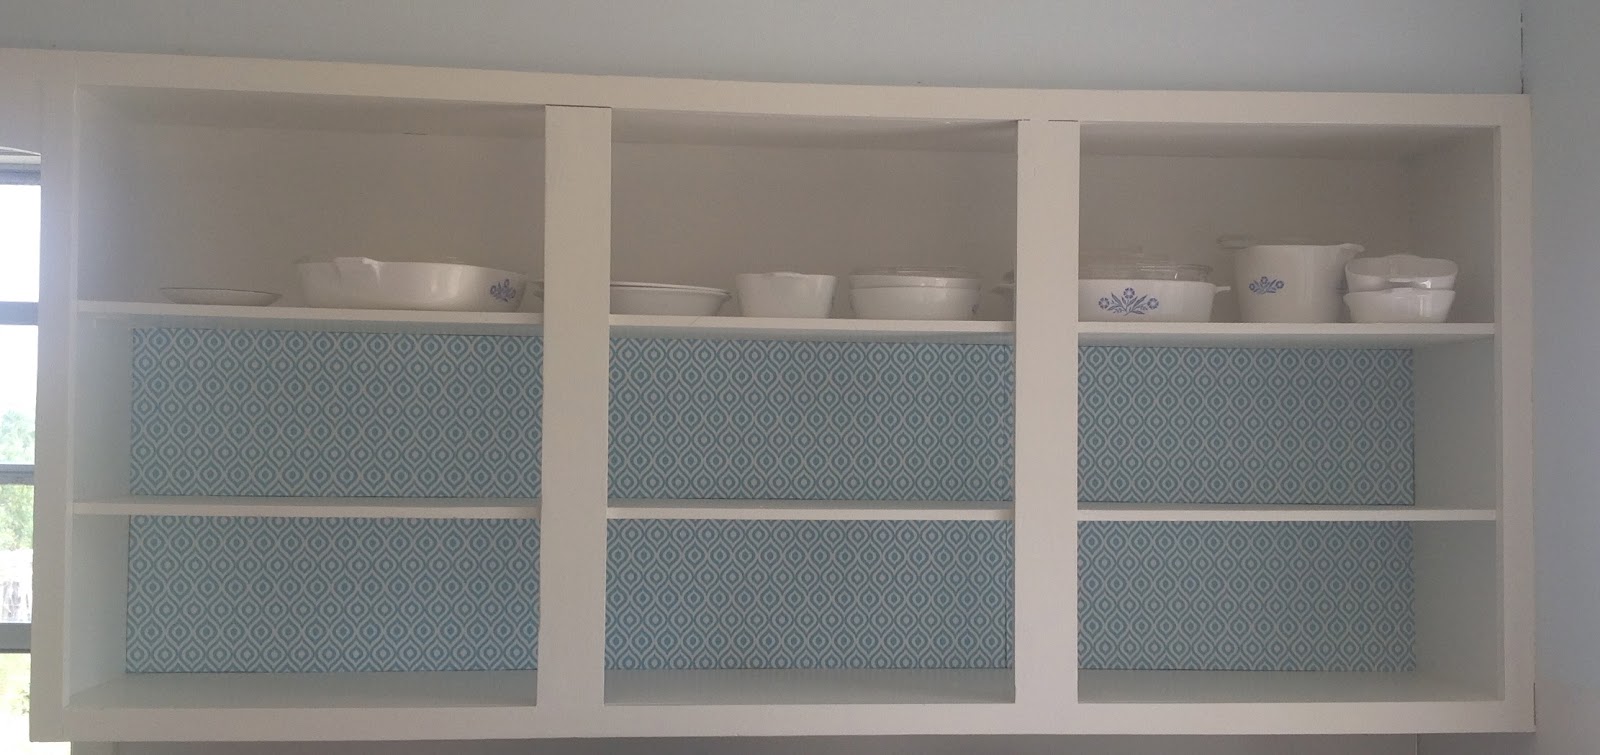 |
| Almost finished... |
 |
| Left side... |
 |
| Right side... |
So the pics are terrible, but I never claimed to be a photographer. For some reason, I never can get the right light to take decent pics in the kitchen.
I'm learning there are pros and cons about open shelving. Sometimes I love it; sometimes I hate it. My final decision has yet to be made...
Cheers,
LaDonna
No comments:
Post a Comment